This guide explains how to integrate your Vertex360 (v360) account with Xero for streamlined payroll and invoicing management. Following this step-by-step process will help ensure smooth synchronization between the two systems.
Prerequisites
– Active Vertex360 account
– Active Xero account with Payroll access
– Necessary permissions in both systems to connect and configure integrations
Step 1: Connect Vertex360 to Xero
Log in to your Vertex360 account.
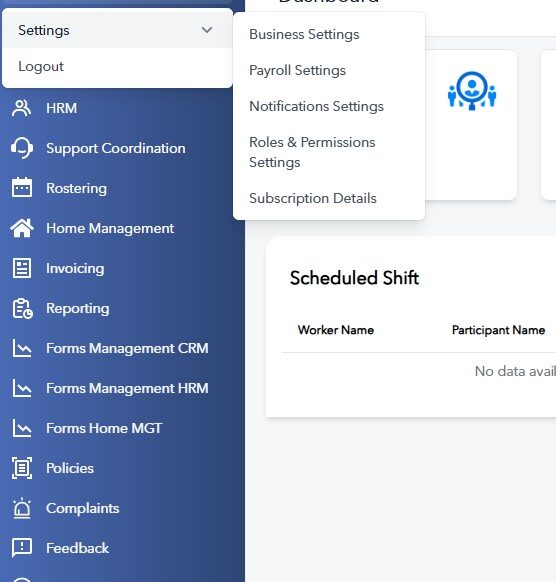
Navigate to Settings > Payroll Settings.
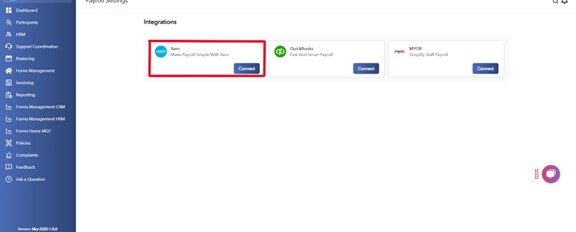
Click the Connect button next to Xero.
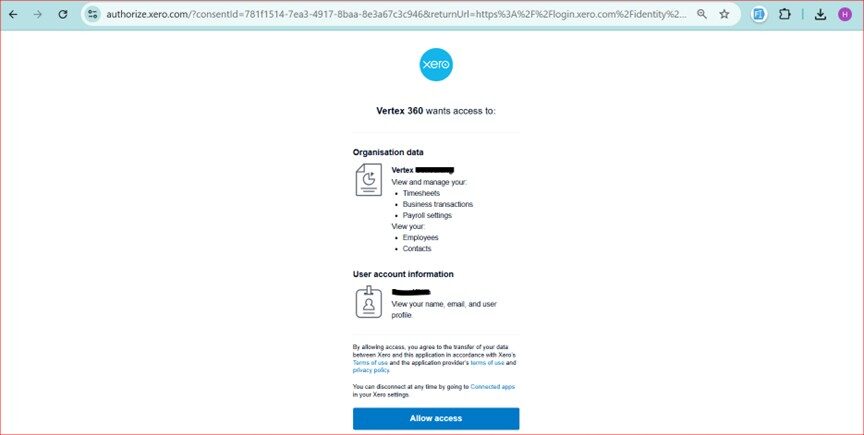
You will be redirected to the Xero login/authorization page.
Authorize the connection by logging in and granting access.
Once authorized, the systems will be connected.
Step 2: Configure Payroll Settings in Xero
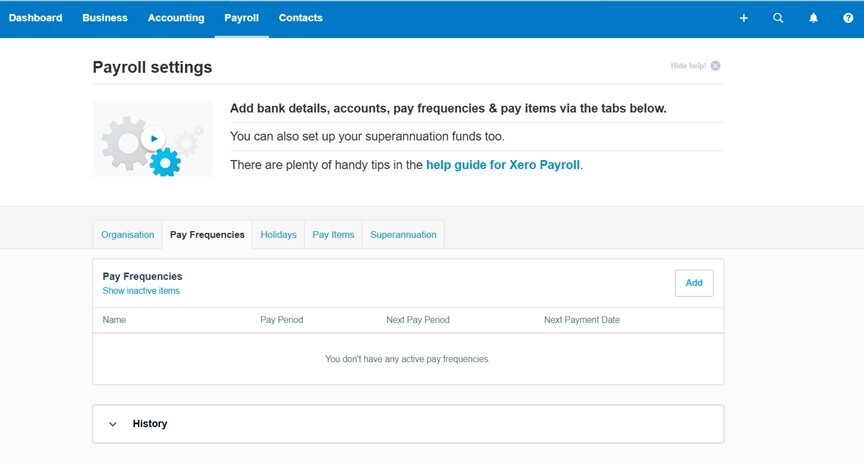
In your Xero account, go to Payroll > Payroll Settings.
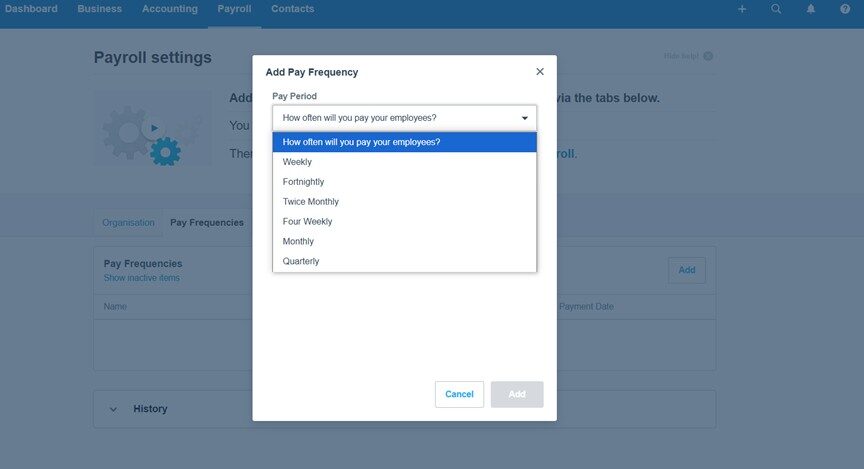
Click on Pay Frequency.
Match the pay period with the one you use in Vertex360 by selecting the same pay frequency.
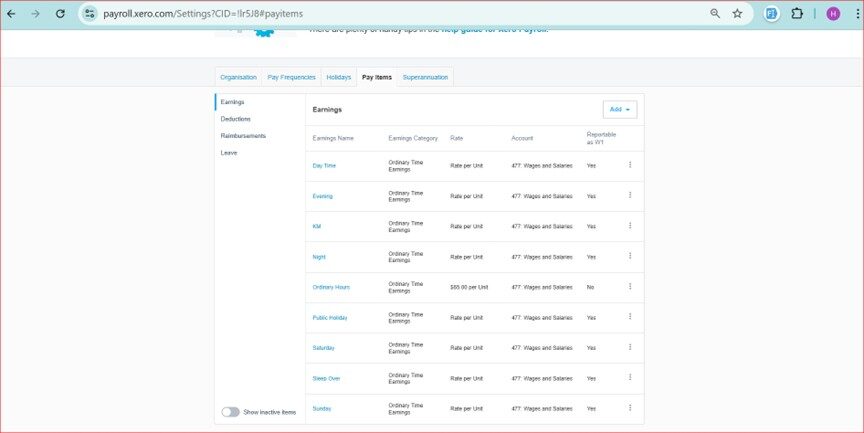
Step 3: Set Up Pay Items in Xero
Return to Payroll Settings in Xero.
Go to Pay Items.
Add pay items that have the same names and settings as in Vertex360.
Note: Do NOT set rates here; rates will be configured individually on each worker’s profile in Xero.
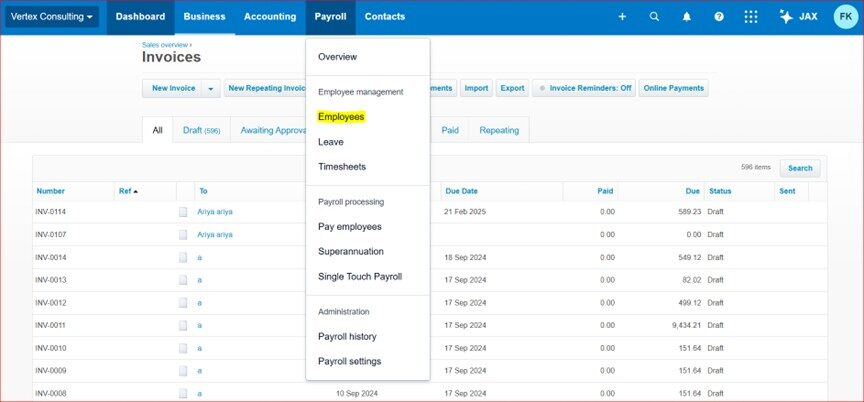
Step 4: Link Employee Profiles
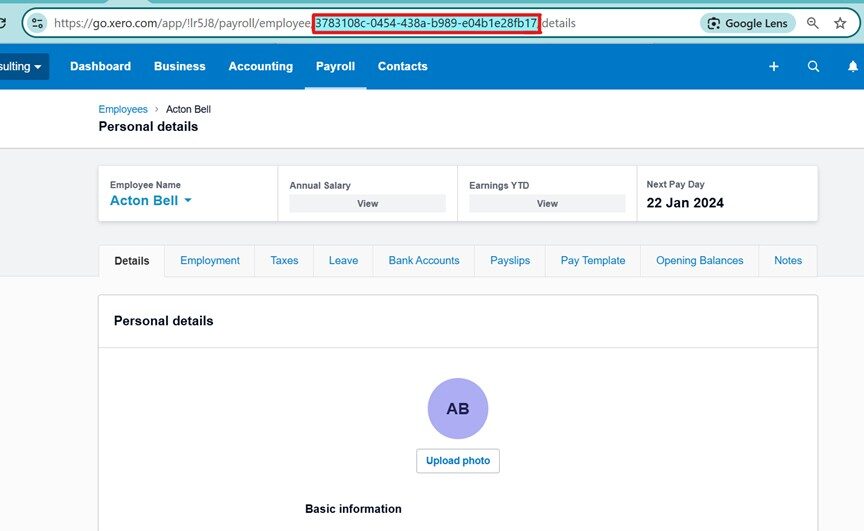
Navigate to the Employees section under Payroll in Xero.
For each employee, click their name to open their profile.
Locate the unique employee ID in the URL.
Copy this unique ID.
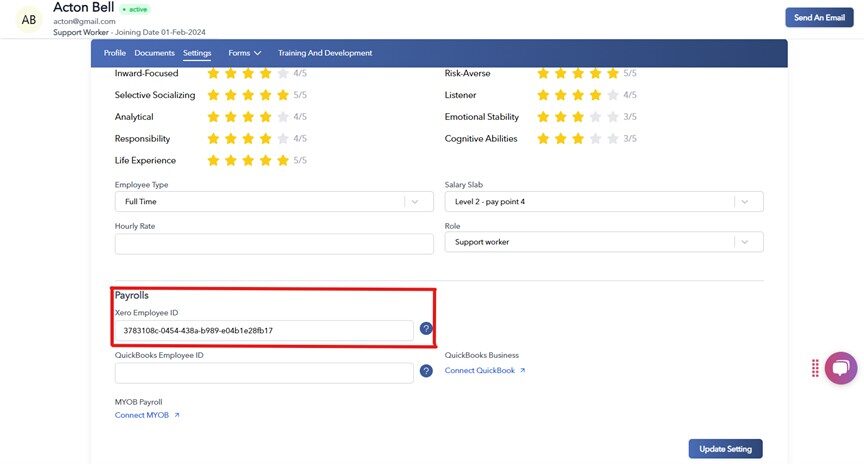
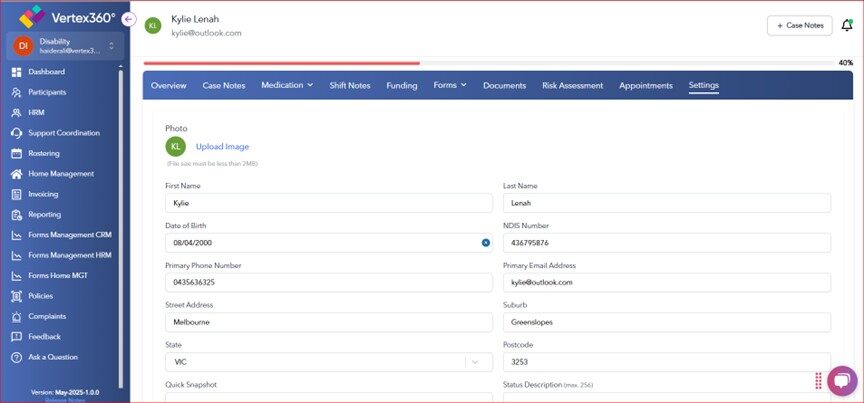
Open the same employee’s profile in Vertex360.
Go to Settings within the employee profile.
Paste the copied Xero Employee ID into the relevant field.
Step 5: Export Timesheets from Vertex360 to Xero
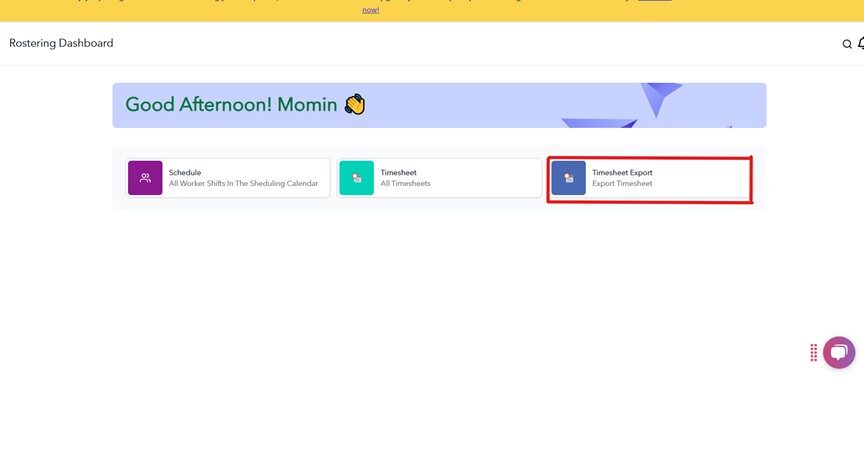
In Vertex360, go to Rostering.
Click on Timesheet Export.
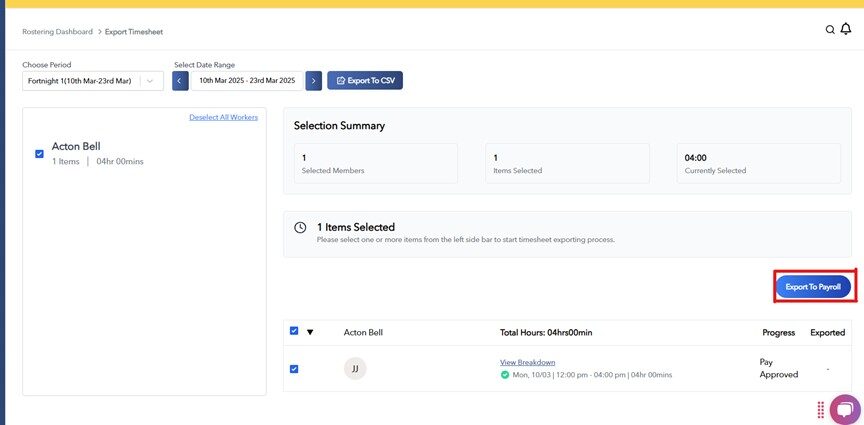
Select the worker(s) by checking the box next to their name.
Choose the approved timesheets you want to export.
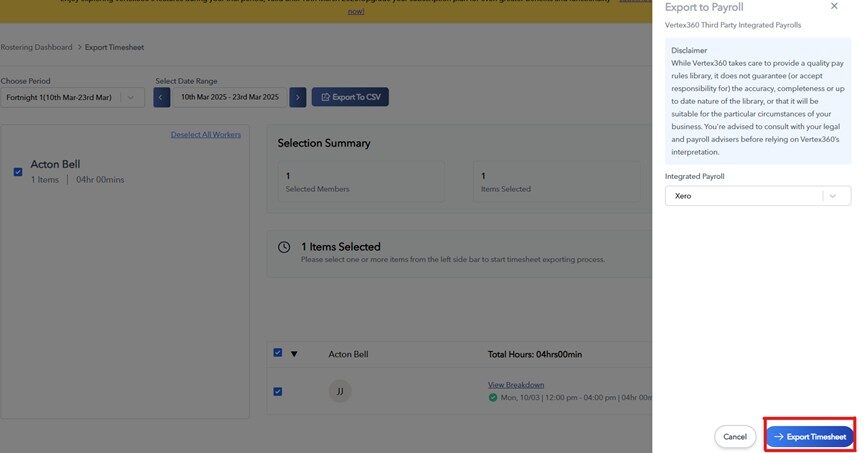
Click Export to Payroll.
In the new window, select the integrated payroll system (Xero).
Click Export Timesheet.
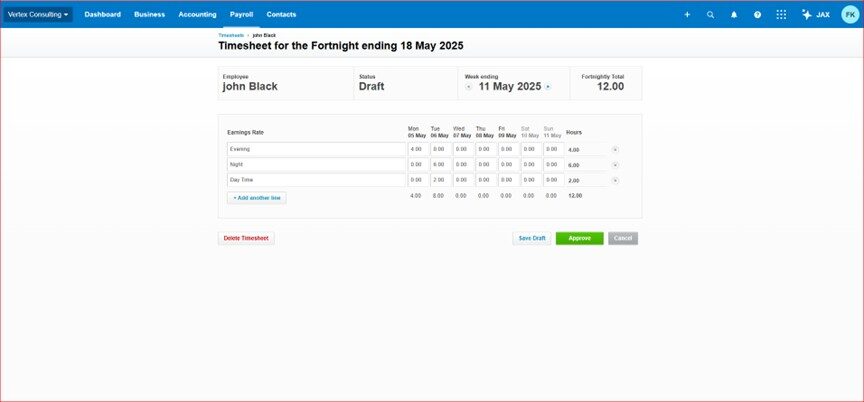
Exported timesheets will appear under the Timesheets section in the Payroll tab.
Step 6: Link Client/Participant Profiles
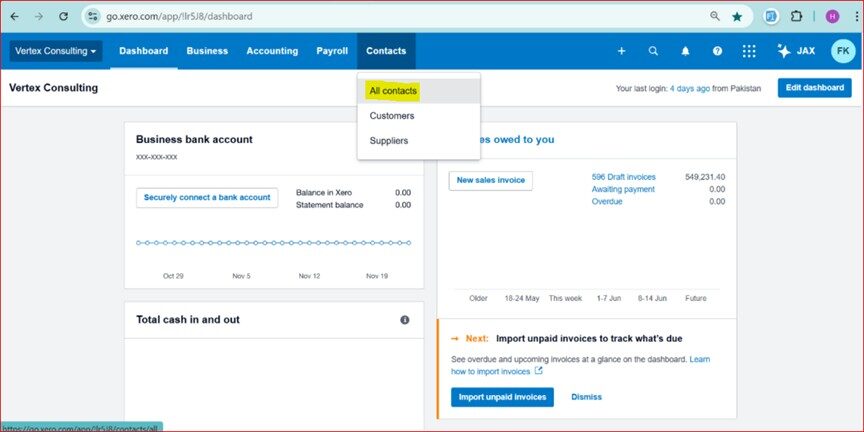
In Xero, navigate to Contacts.
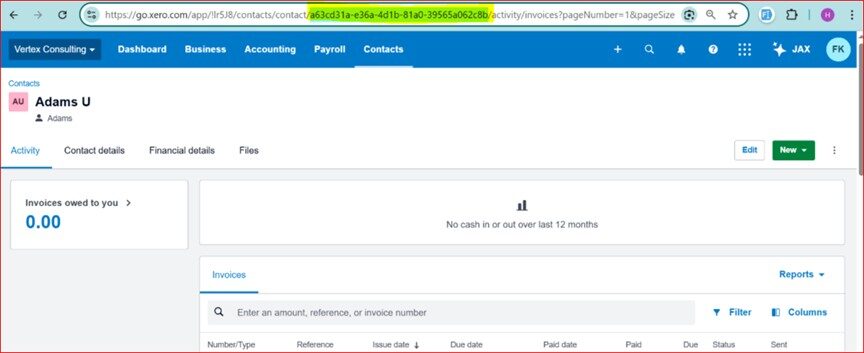
For each client/participant, click their name to open their profile.
Copy the unique client/participant ID from the URL.
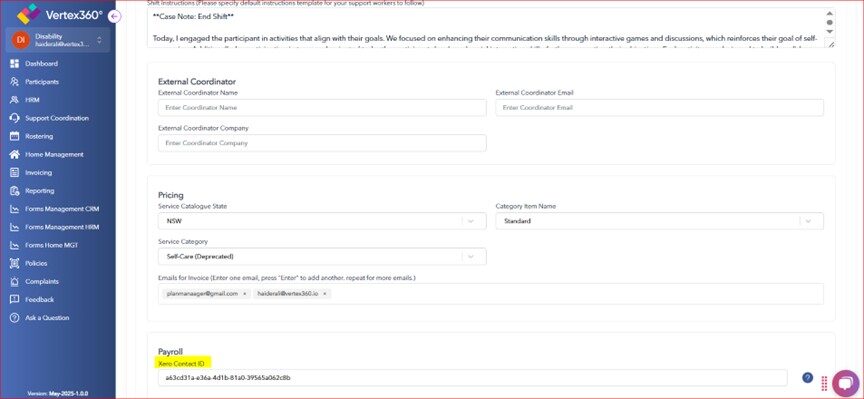
Open the corresponding participant profile in Vertex360.
Go to Settings in their profile.
Paste the copied Xero Contact ID in the “Xero Contact ID” field.
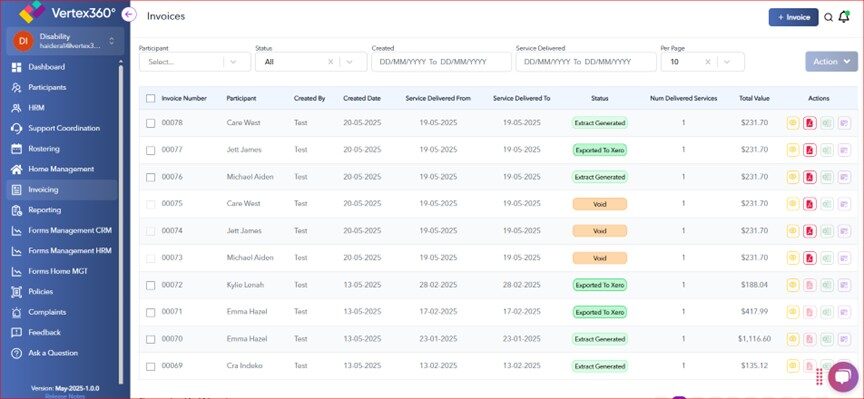
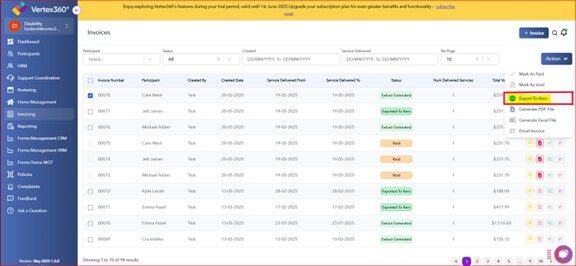
Step 7: Export Invoices from Vertex360 to Xero
In Vertex360, go to Invoicing.
Select the invoices you want to export for each participant.
Export the invoices to Xero.
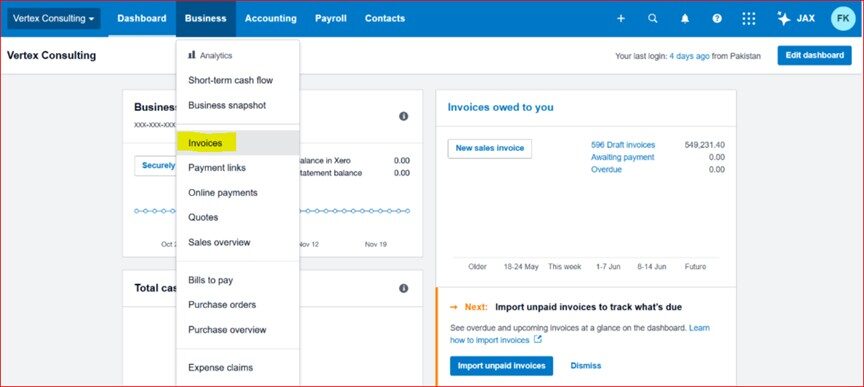
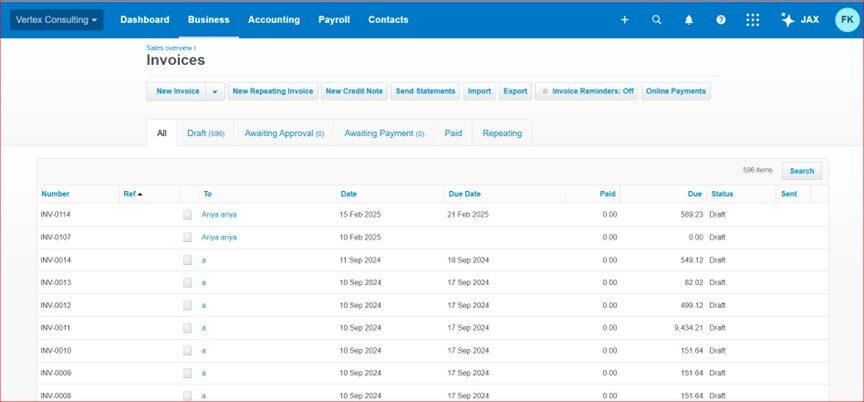
To view exported invoices, go to Business tab in Xero and click Invoices.
Troubleshooting Tips
– Ensure pay periods match in both systems to avoid export errors.
– Verify all employee and client Xero IDs are correctly linked in Vertex360.
– If exports fail, check your internet connection and permissions.
– Review sync logs regularly for any discrepancies.
Support
For further assistance, please contact our support team at [email protected]
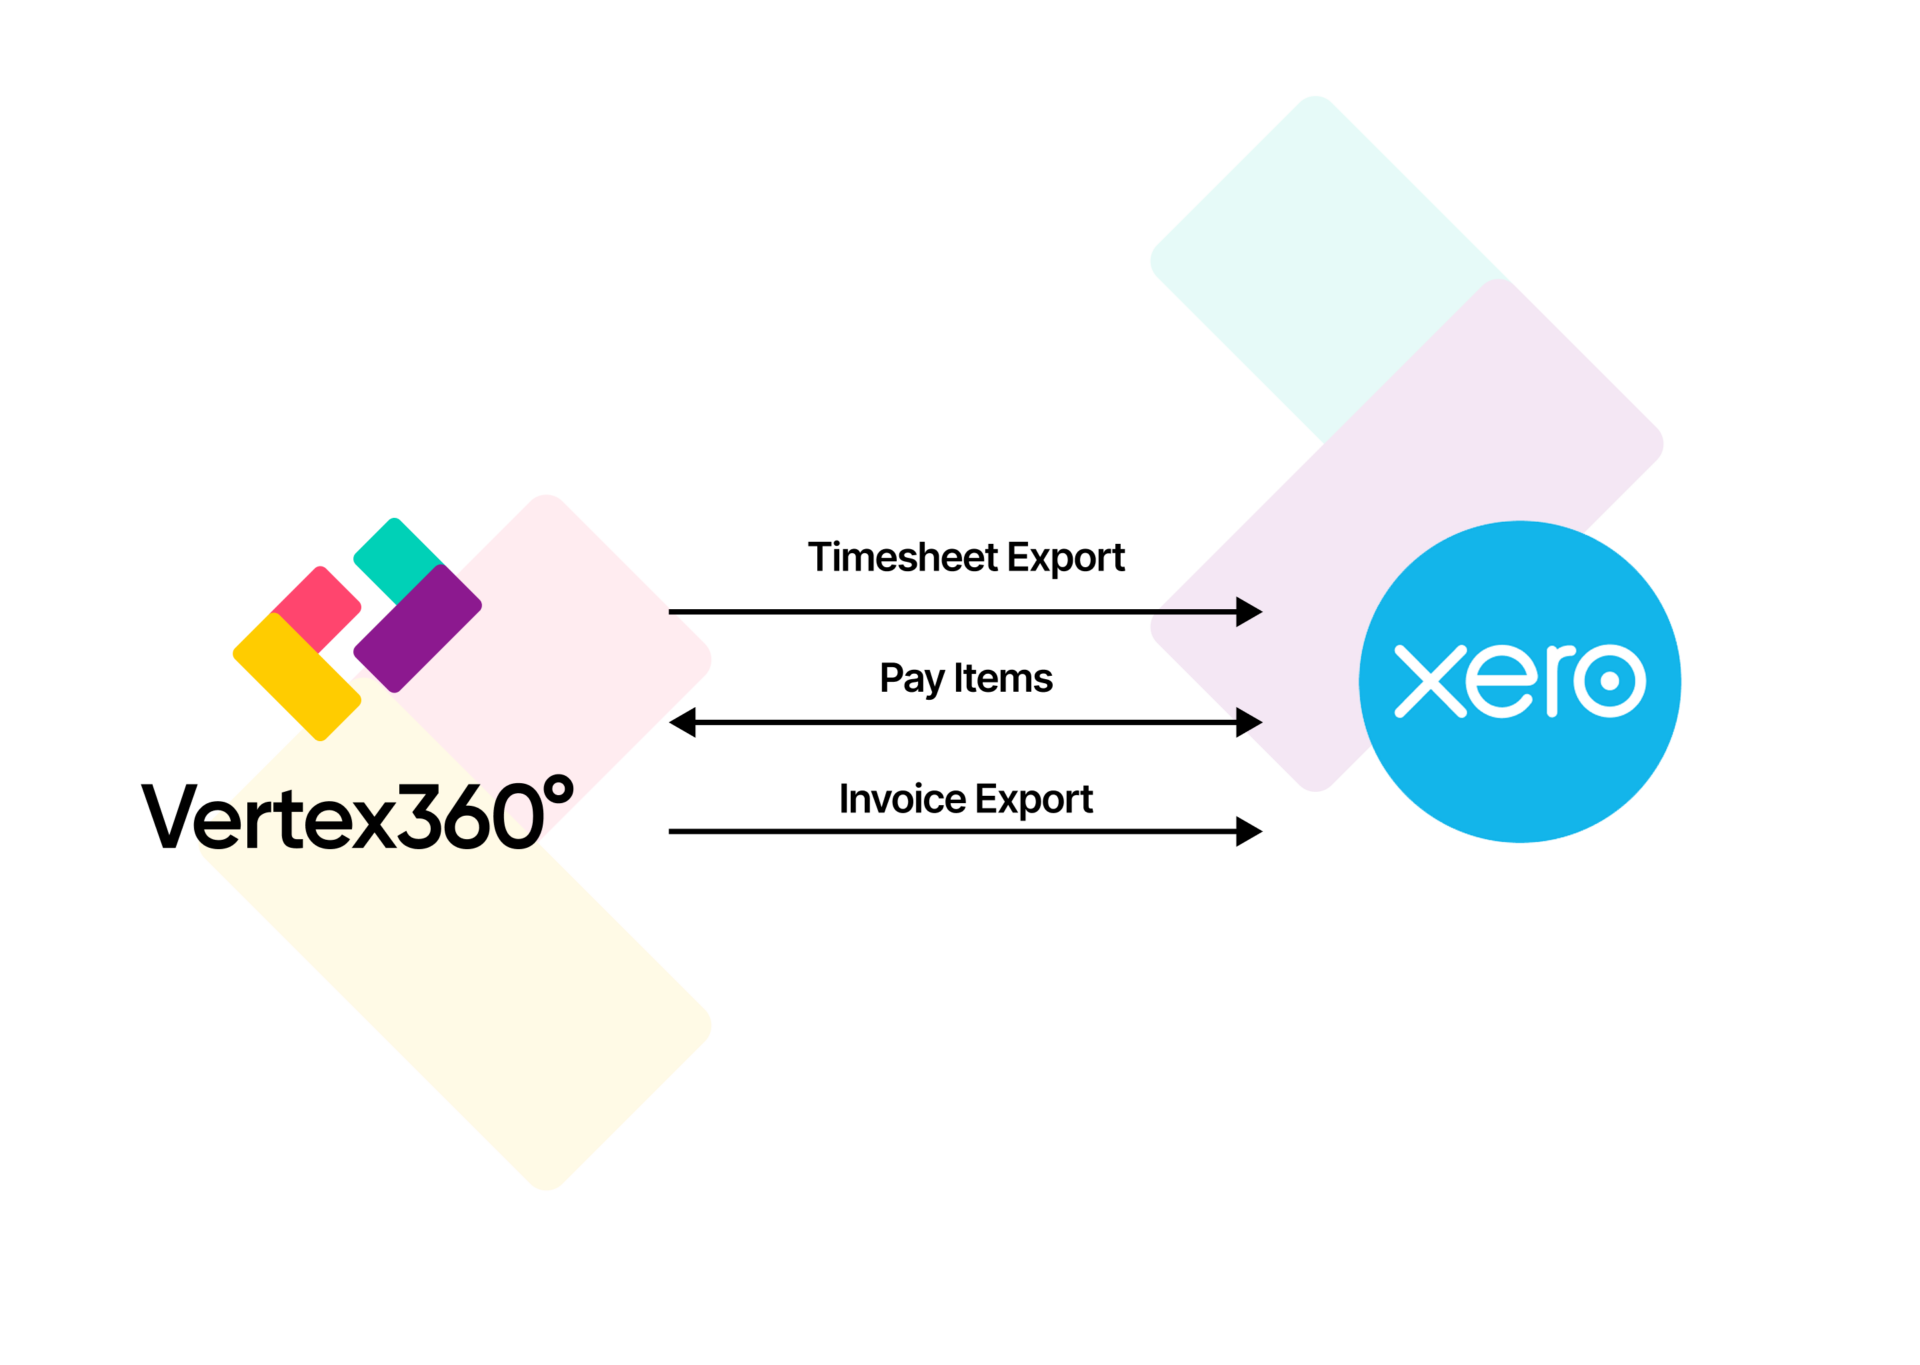
Flowchart
Frequently Asked Questions
How do I connect Vertex360 to Xero?
Log into your Vertex360 account, go to Settings > Payroll Settings, and click the Connect button next to Xero. Authorize the connection via the Xero login page.
What payroll settings do I need to configure in Xero for integration?
You need to set the Pay Frequency to match your Vertex360 pay period and add Pay Items with the same names as in Vertex360 (do not set rates here).
How do I link employee profiles between Vertex360 and Xero?
Copy the unique employee ID from each employee’s profile URL in Xero and paste it into the “Xero Employee ID” field in the corresponding employee profile in Vertex360.
How do I link clients/participants profiles?
Copy the unique client or participant ID from the Xero Contacts URL and paste it into the “Xero Contact ID” field in the participant profile settings in Vertex360.
How do I export timesheets from Vertex360 to Xero?
Navigate to Rostering > Timesheet Export in Vertex360, select the workers and timesheets you want, click Export to Payroll, choose Xero as the payroll system, and confirm the export.
How do I export invoices from Vertex360 to Xero?
In Vertex360, go to Invoicing, select the invoices to export, and send them to Xero. Exported invoices can be viewed in the Business > Invoices section in Xero.
Can I change pay rates in Vertex360?
Vertex360’s rosteringfeatures accommodates scheduling multiple clients and staff members for a single NDIS shift, simplifying invoicing and ensuring efficient service delivery.
What permissions are required for integration?
You need admin or payroll permissions in both Vertex360 and Xero to configure and maintain the integration.
What should I do if timesheets or invoices are not exporting correctly?
Ensure pay frequencies and pay items are matched correctly, employee and client IDs are linked, and check your internet connection and permissions.
How do I reauthorize the Xero connection if it stops working?
Go to Settings > Payroll Settings in Vertex360 and click the Connect button again to reauthorize the connection with Xero.